Why a Retaining Wall is a Smart Landscape Upgrade
Retaining wall installation transforms sloped yards into functional outdoor spaces while preventing soil erosion and boosting property value. Here's what you need to know:
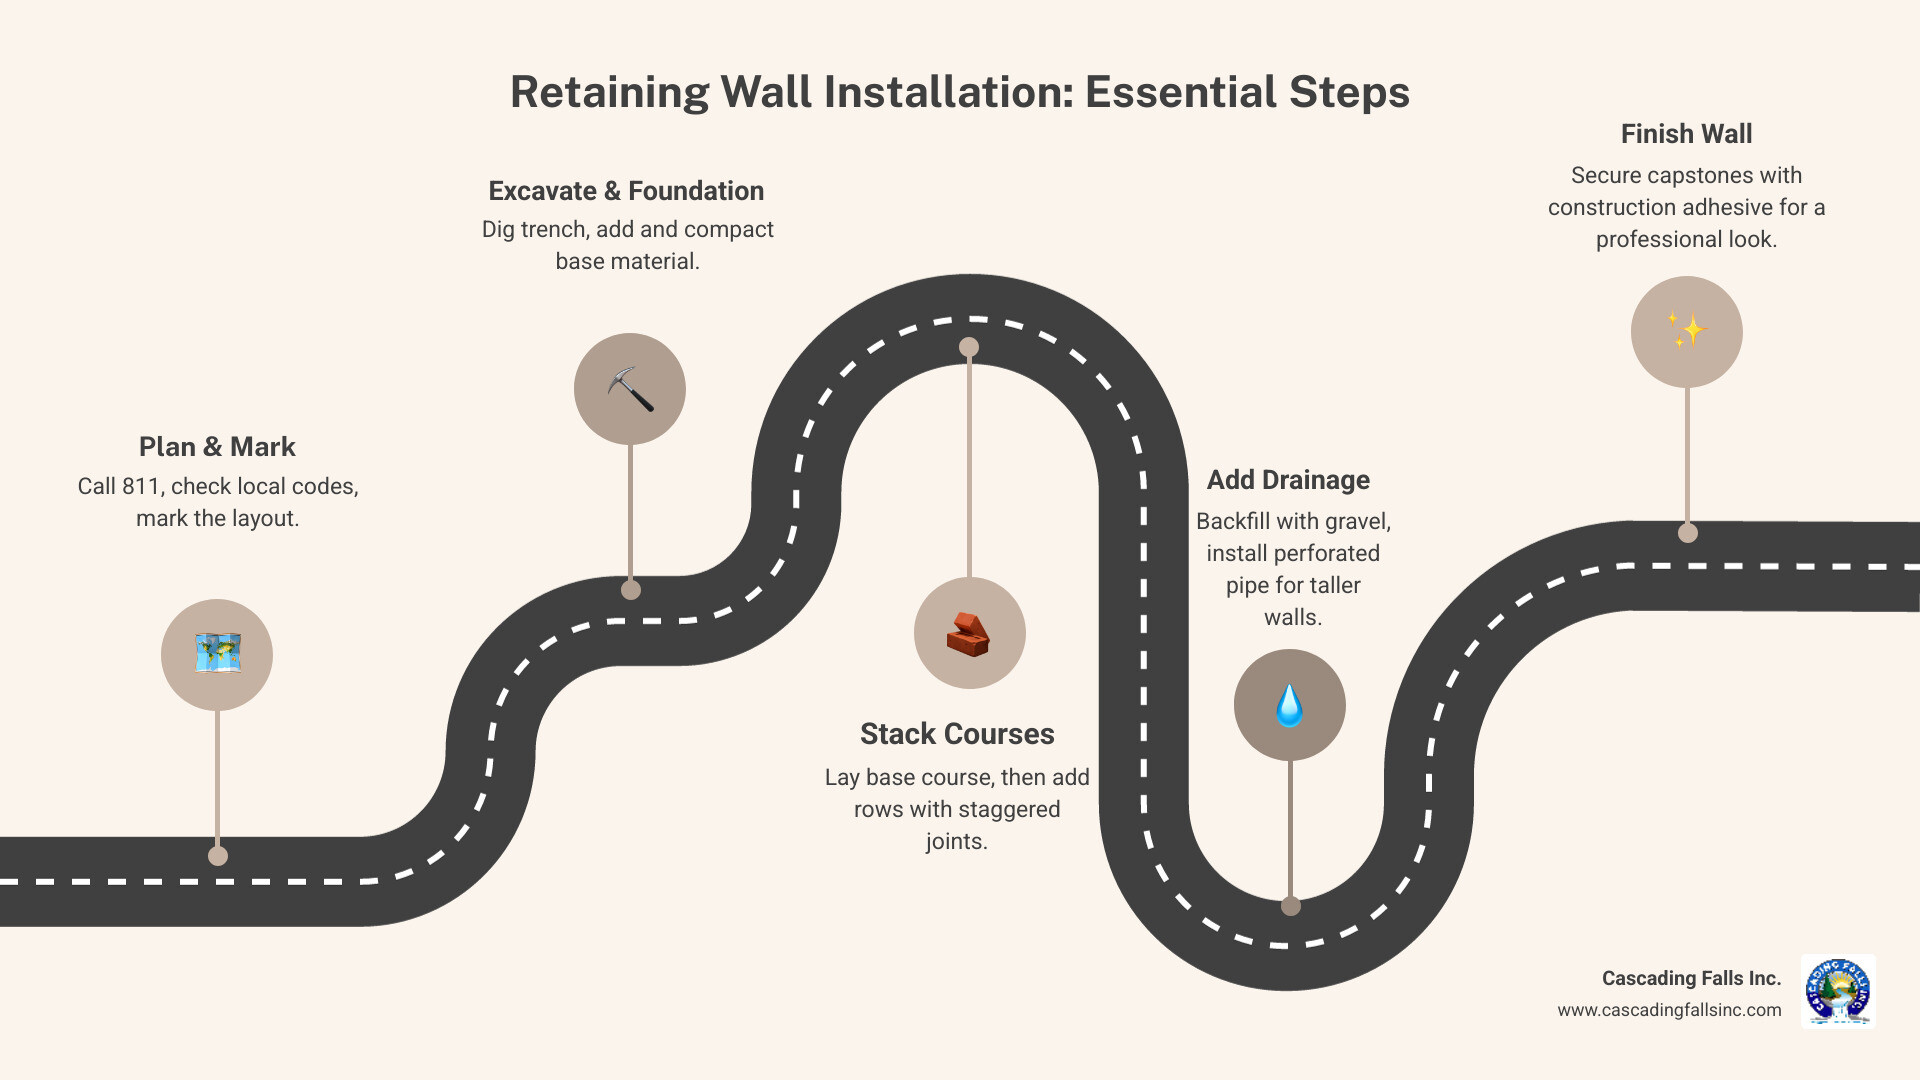
Essential Steps for Retaining Wall Installation:
- Plan and Mark- Call 811, check local codes, mark the layout
- Excavate- Dig trench 6" deep plus 1" per foot of wall height
- Build Foundation- Add 3-4" compacted base material, level carefully
- Install Base Course- Place first row of blocks, ensure perfect level
- Stack Courses- Add rows with staggered joints, backfill with gravel
- Add Drainage- Install perforated pipe for walls over 4 feet
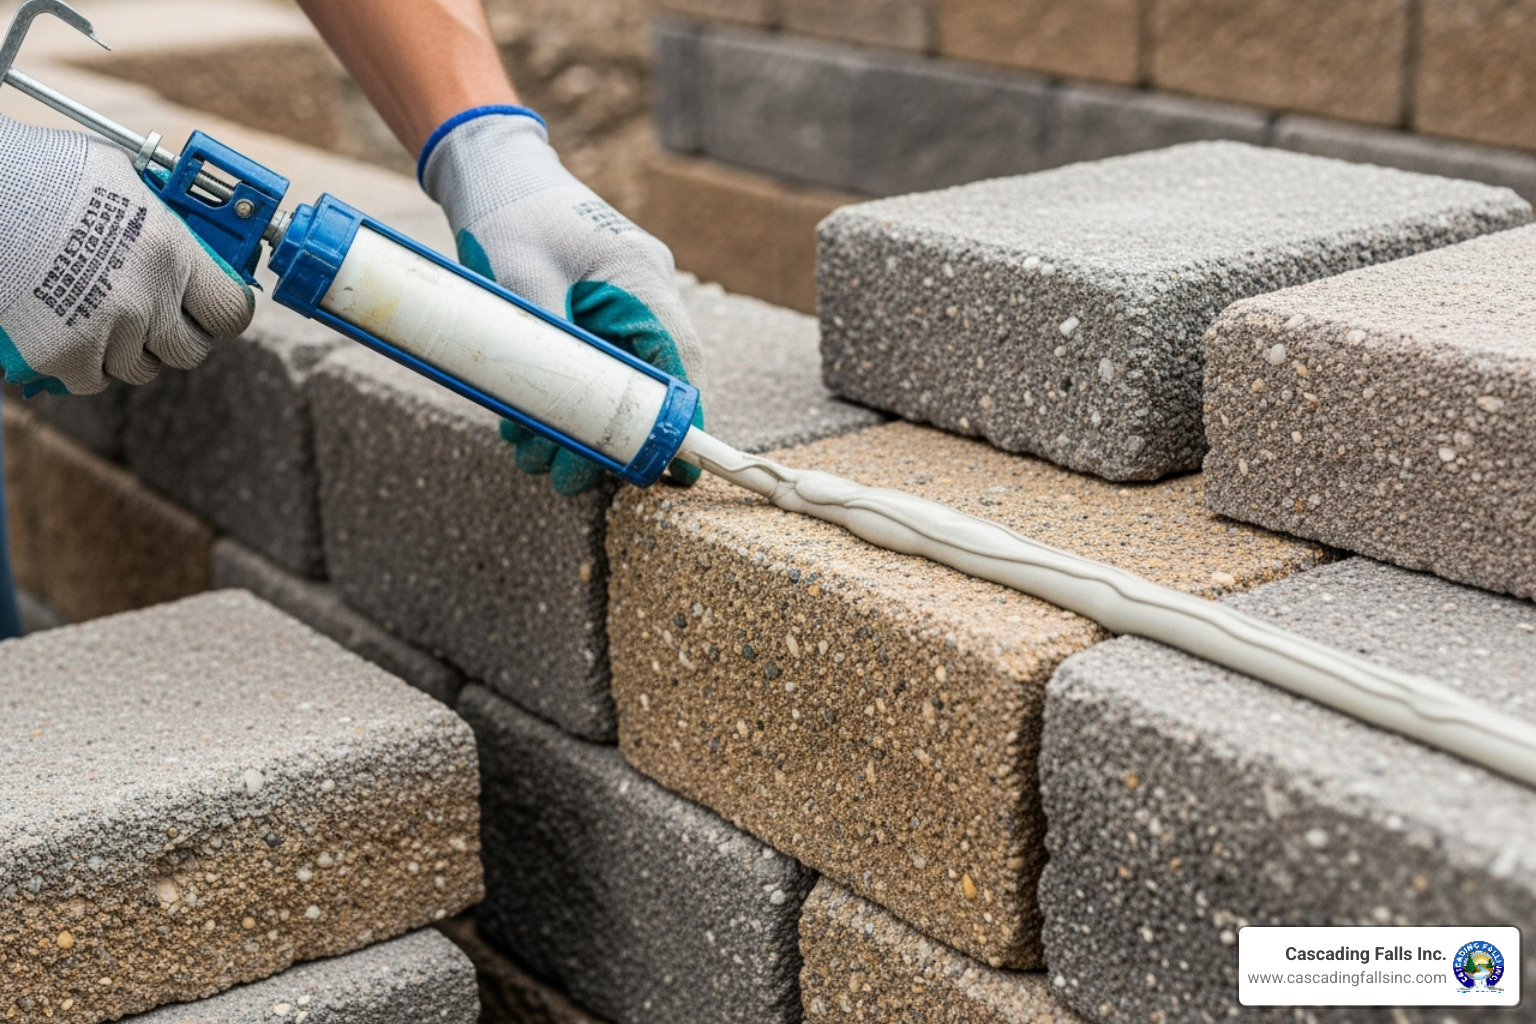
- Finish- Secure capstones with construction adhesive
According to real estate industry data, landscape redesign projects deliver an impressive 105% value recovery. These structures create usable flat space, manage water runoff, and provide opportunities for terraced gardens or seating areas. A well-built retaining wall offers both immediate function and long-term value. In fact, 75% of homeowners report an increased desire to spend time at home after completing landscape projects.
I'm David Shelly, and with nearly two decades in construction and 15 years running a landscape construction business, I've installed countless retaining walls. My hands-on experience in retaining wall installation has taught me that success depends on proper planning, precise execution, and attention to drainage.
Planning and Preparation: The Blueprint for Success
Proper planning is crucial for a successful retaining wall installation. It saves you from costly mistakes and ensures your wall will stand for decades.
Key Considerations for Your Retaining Wall Installation
First, determine the layout and location. Use stakes and string (or a garden hose for curves) to mark where your wall will go. Visualize the final look and consider water flow to ensure it doesn't direct rainwater toward your foundation.
Next, call 811 before you dig. This free service locates underground utility lines and is required by law in most places. Hitting a gas or electrical line is a dangerous and expensive emergency.
Finally, check local building codes and permit requirements. Most areas require permits for walls over 3-4 feet tall, as they need additional engineering to handle soil pressure. We've seen homeowners in the Roseville and Sacramento areas face fines or have to tear down unpermitted walls.
Choosing Your Blocks and Style
Interlocking blocks are ideal for most residential projects. Their designs feature lips or pins that create stability without mortar, making them forgiving for DIYers.
Block weight and size determine how tall your wall can be. Heavier blocks offer more stability for higher walls, while lightweight blocks are suitable for garden borders up to 2 feet.
Colors and textures range from natural stone looks to sleek, modern finishes. Choose a style that complements your home and existing landscape to ensure the wall feels like an integrated feature. Your aesthetic goals are important for changing a functional structure into a feature that adds curb appeal. See different block styles to get inspired.
Essential Tools and Materials
Having the right tools is essential for a quality installation.
For basic hand tools, you'll need a round-point shovel, a square shovel, a 4-foot carpenter's level, a rubber mallet, string line, stakes, and a wheelbarrow.
Power tools like a plate compactor for base preparation and a circular saw with a masonry blade for cutting blocks are invaluable for larger jobs.
Don't skimp on safety gear: work gloves, safety glasses, and steel-toed boots are mandatory.
For materials, you'll need your chosen retaining wall blocks (plus 10% extra for cuts), paver base or crushed stone for the foundation, and drainage gravel (clean ½" to ¾" rock) for backfill. You'll also need landscape fabric, a perforated drain pipe for taller walls, and concrete adhesive for capstones.
Building the Foundation: The Most Critical Step
Your wall's longevity depends entirely on its foundation. A rock-solid base ensures decades of stability, so there are no shortcuts in this step.
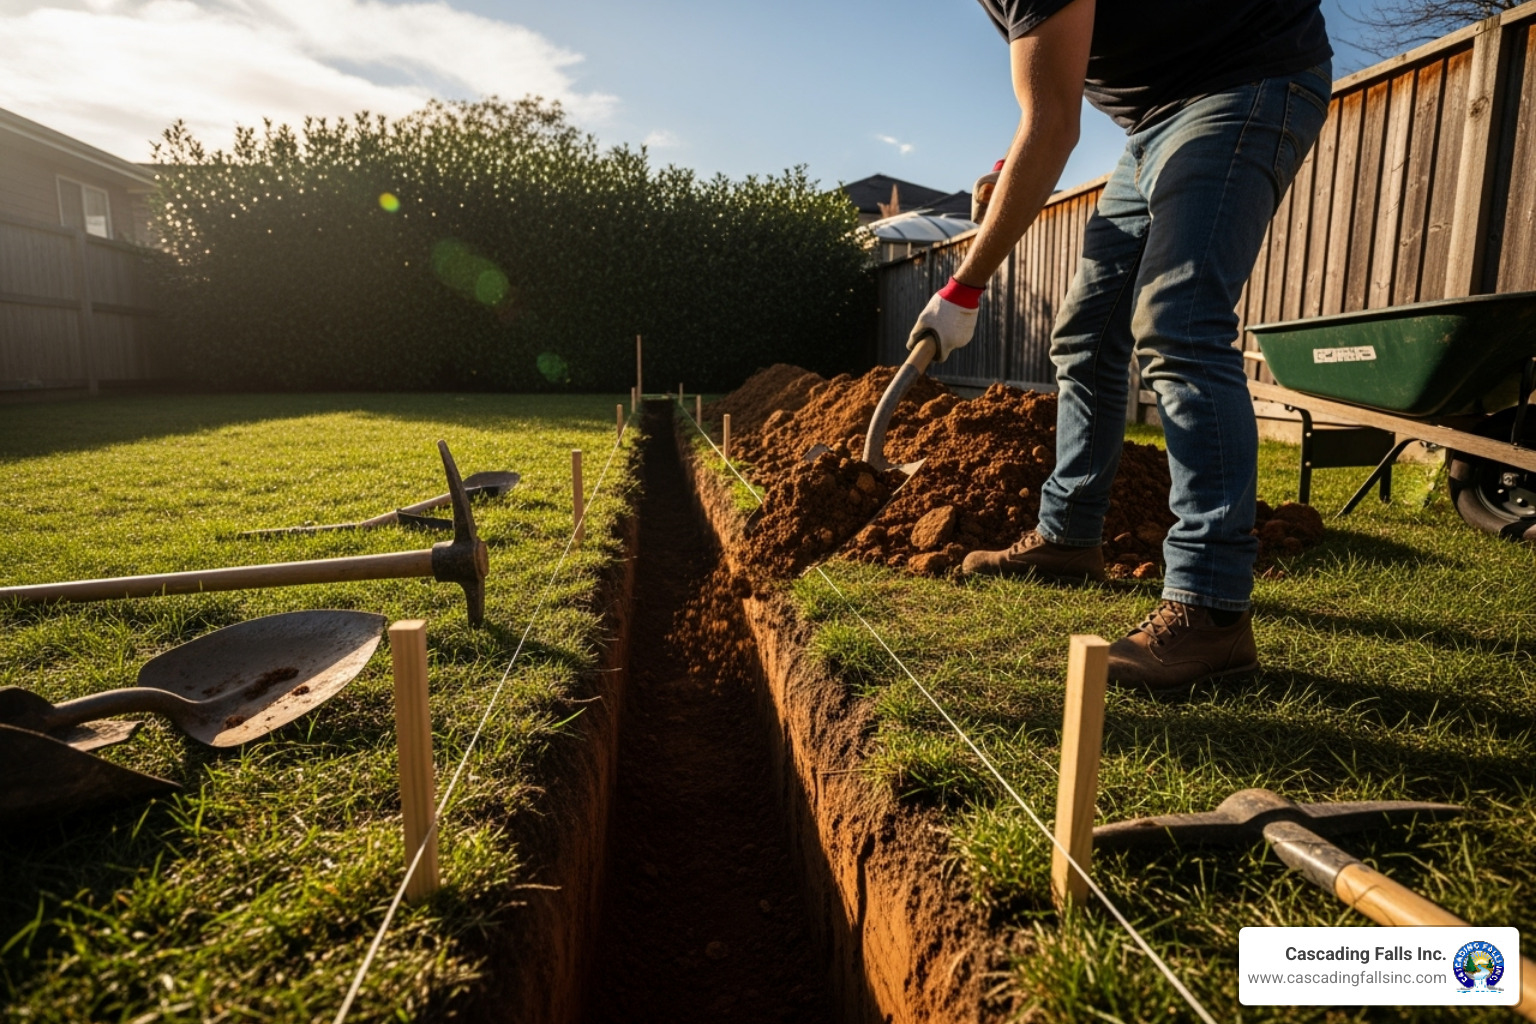
Digging and Leveling the Trench
Trench depth is critical. For walls under 4 feet, dig down 4 to 6 inches deep, plus enough to bury at least half of the first block. For taller walls over 4 feet, the rule is 6 inches deep plus 1 additional inch for every foot of wall height. A 6-foot wall needs a 12-inch-deep trench to anchor it against soil pressure.
Trench width should be at least twice as wide as your blocks. A 12-inch-wide trench is the minimum for 6-inch-deep blocks.
Remove all vegetation and organic material(grass, roots, mulch) from the trench. These materials decompose, creating soft spots that cause settling and wall failure.
Once clean, compact the soil base thoroughly with a plate compactor, making at least two passes to prevent future settling.
Installing the Base Course
The base course is the most critical part of the installation. If this first row isn't perfectly level, the entire wall will be compromised.
Spread 3 to 6 inches of paver base or crushed stone into the compacted trench to create a stable, well-draining foundation.
Compact the leveling pad material with a plate compactor until it's rock solid. Rake it smooth and check for level.
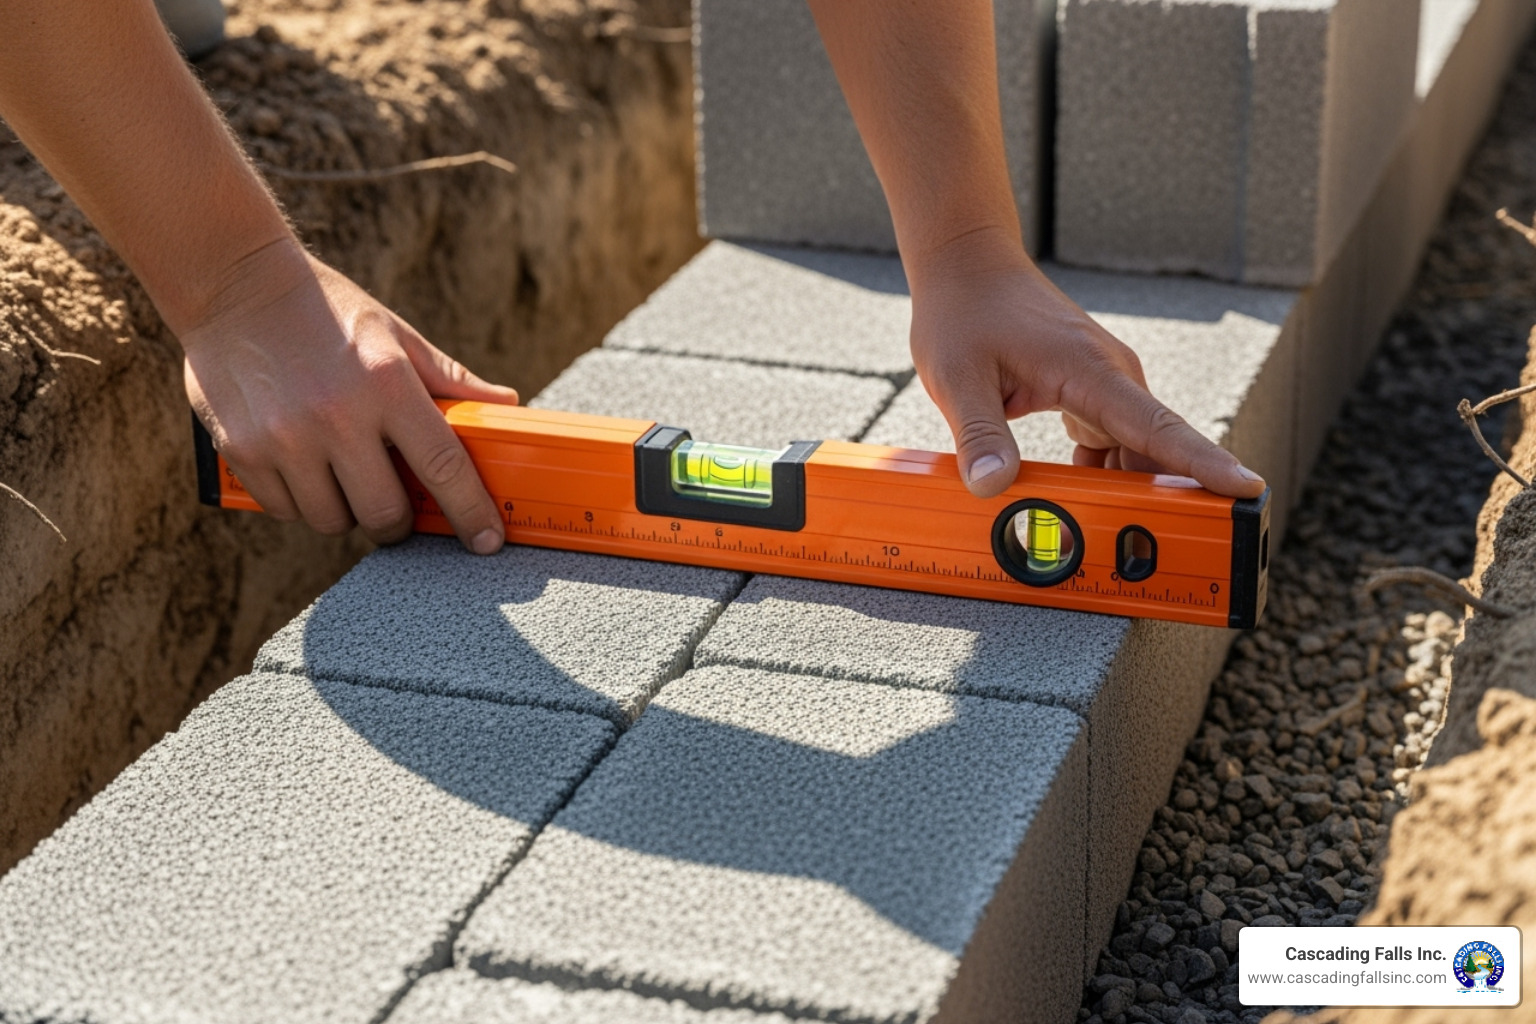
When laying the first block, start at the lowest point of the layout. If your blocks have a flange system, you may need to knock off the back flanges of the first course so they sit flat.
Check each block with a torpedo level —front to back and side to side. Tap high blocks down with a rubber mallet; lift low blocks and add sand underneath. Every block in the base course must be perfectly level.
Use a string line along the back edge for straight walls to ensure perfect alignment. Double-check the entire base course for level and alignment before proceeding. This detail is crucial for a lasting wall.
Stacking, Backfilling, and Ensuring Proper Drainage
As you stack courses, maintain precision. Rushing this stage can compromise the wall's strength and stability.
Stacking Courses and Cutting Blocks
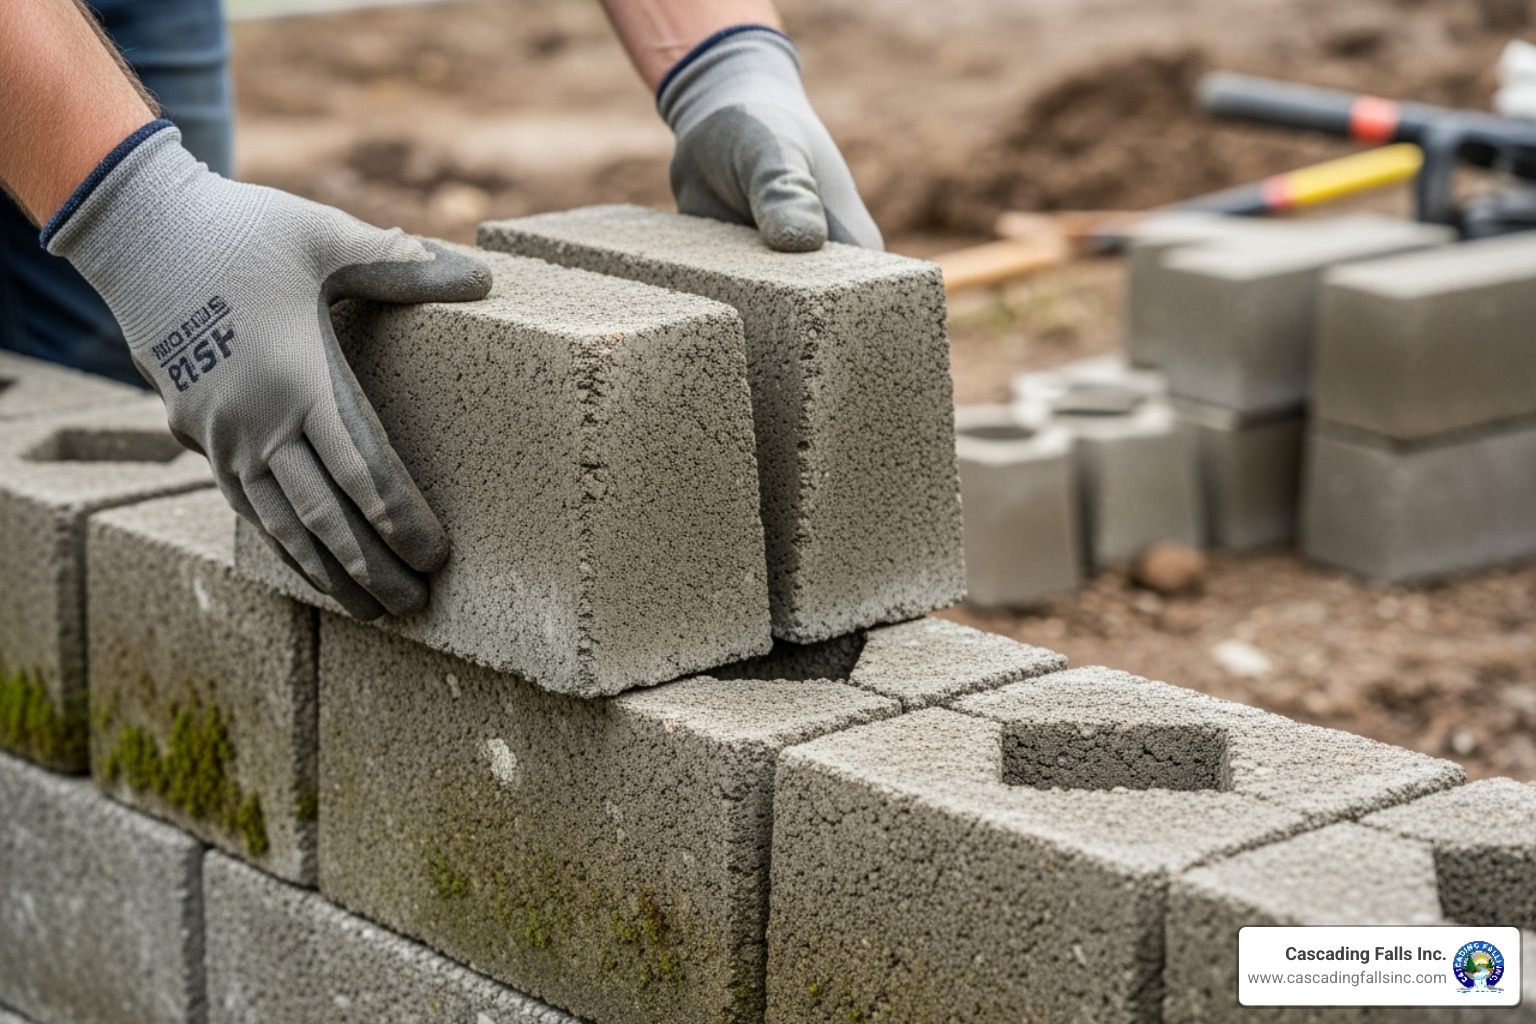
Staggering joints is critical for strength. Never let vertical seams line up. Offset each block by at least a quarter of its length, ideally centering the upper block over the joint below to distribute weight evenly.
Most modern blocks have interlocking mechanisms(lips, pins, or grooves) engineered to create a slight setback with each course. This lean-back design provides stability against soil pressure. Ensure these connections engage properly.
Cutting blocks is necessary for ends, corners, or maintaining the staggered pattern. For simple cuts, score the block with a brick chisel and strike it with a hammer. For precision, use a circular saw with a diamond masonry blade. Always wear safety glasses, ear protection, and a dust mask when cutting masonry.
The Importance of Drainage in Retaining Wall Installation
Proper drainage is not optional; it's the key to a long-lasting wall. Without it, water pressure will build up and cause the wall to fail.
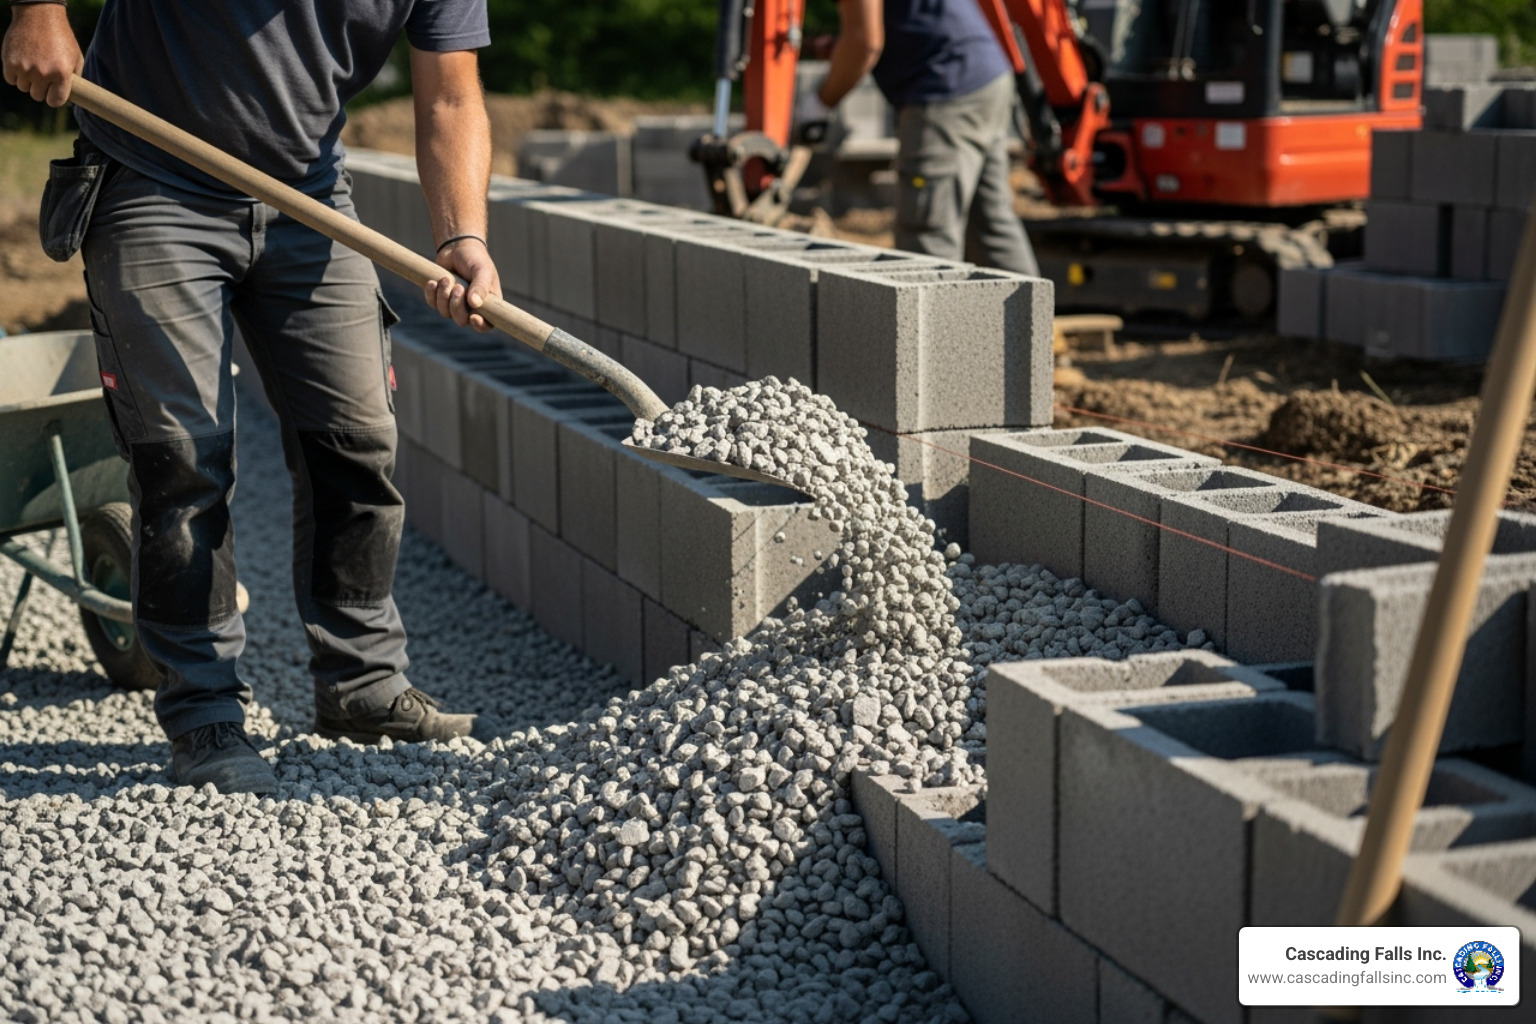
Backfill with drainage gravel as you build. After each course, fill the block cores and about 12 inches behind the wall with clean, crushed stone (1/2" to 3/4" size). This allows water to escape instead of building pressure.
Compact the backfill in lifts of no more than 8 inches at a time using a plate compactor. This prevents settling.
Place landscape fabric between the drainage gravel and the soil to prevent soil from clogging the drainage system.
Installing a Perforated Drain Pipe
A perforated drain pipe is essential for taller walls or wet conditions.
A pipe is necessary for any reinforced wall and for gravity walls over 4 feet. Also, use one in areas with heavy rainfall or significant irrigation.
Place the corrugated, perforated pipe behind the first course of blocks, on top of the compacted drainage gravel.
The pipe should be wrapped in a drain sleeve(fabric) to keep debris from clogging the perforations.
Finally, ensure the pipe has a clear exit, or vents to daylight, where water can flow out. Slope it at least 1 inch for every 4 feet of run.
Our experience with foundational stability through our concrete work—which you can learn more about at our concrete services page—informs our water management principles for successful retaining wall installation.
Finishing Your Wall and Avoiding Common Pitfalls
The final phase transforms your wall into a polished landscape feature.
Securing the Capstones
Capstones are the finishing touch, protecting the wall from weather and providing a professional look.
For applying construction adhesive, squeeze a generous bead of high-quality exterior concrete adhesive across the top of the final course of blocks.
When placing capstones, press each one firmly into the adhesive. Most capstones are designed with a slight overhang(1 to 1½ inches). This overhang directs rainwater away from the wall face.
To create a professional finish, ensure every capstone lines up perfectly, using a rubber mallet for gentle adjustments. Let the adhesive cure completely before putting any weight on the caps.
Common Mistakes and How to Avoid Them
Avoid these common pitfalls to ensure your project's success:
- Uneven base course: The most common mistake. If your first course isn't perfectly level, the entire wall will be off. Take the time to get it right.
- Poor drainage: A frequent cause of wall failure. Always use drainage gravel, landscape fabric, and a drain pipe for taller walls.
- Forgetting compaction: Uncompacted base materials and soil will settle over time, causing structural problems. Use a plate compactor on the trench base and on each lift of backfill.
- Not checking codes: Call 811 before digging and check local building codes to avoid fines or having to rebuild.
- Ignoring safety: Always prioritize safety. Wear safety glasses, use hearing protection, and lift heavy blocks carefully.
Recognizing Signs of Wall Failure
Watch for these warning signs to catch problems early:
- Leaning or bulging: Indicates excessive soil pressure, often from failed drainage.
- Cracks in blocks: Significant cracks running across multiple blocks signal serious strain.
- Water seepage: Water coming through the wall face means the drainage system is overwhelmed.
- Soil erosion at the base: This can undermine the foundation.
If you spot these signs, don't ignore them. Wall failures can be dangerous and expensive. It's time to call a professional. You can Learn more about our services and how we can help.
Frequently Asked Questions about Retaining Wall Installation
Here are answers to the most common questions about retaining wall installation.
How deep should the footing be for a retaining wall?
The depth depends on the wall's height. For walls under 4 feet, dig a trench deep enough to bury at least half of the first block, which is typically 4 to 8 inches, plus another 3 to 6 inches for your gravel base. For taller walls, the rule is 6 inches deep plus 1 additional inch for every foot of wall height. The goal is to create a stable foundation that resists soil pressure.
Do all retaining walls need drainage?
Yes, absolutely. Proper drainage is non-negotiable. Water-saturated soil creates immense hydrostatic pressure that can destroy a wall. For smaller walls, a layer of drainage gravel may suffice. But for gravity walls over 4 feet, reinforced walls, or in areas with heavy rain, a perforated drain pipe is essential. It's better to over-engineer the drainage than to risk wall failure.
When should I hire a professional instead of DIY?
While many walls are DIY-friendly, some situations require a professional:
- Walls over 4 feet tall: These almost always require professional engineering, soil reinforcement, and permits.
- Complex slopes and poor soil conditions: Steep grades or problematic soil (clay, sand) require an expert assessment to design a solution that will last.
- When you want a guarantee: A professional company provides a warranty and peace of mind that the job is done right.
- Aesthetic considerations: A pro can help with design choices to improve your property's curb appeal.
The benefits of interlocking retaining wall blocks make them great for many DIY projects, but knowing when your project has outgrown the DIY approach is key. We've been handling complex retaining wall installation projects throughout Roseville, Sacramento, and the surrounding areas for years.
Conclusion: A Project That Adds Lasting Value
A retaining wall installation is a manageable project when broken down into clear steps. From planning and digging to stacking and finishing, each step builds on the last. This project is rewarding both for the immediate satisfaction and the long-term benefits. You're making a smart investment that can deliver a 105% value recovery while adding enjoyment and usability to your home.
The sense of accomplishment is significant, as you've created a feature that protects your landscape and adds usable space for years to come.
However, not every project is suitable for a DIY approach. If your wall is over 4 feet, on a difficult slope, or you simply want the peace of mind that comes with professional installation, we're here to help.
At Cascading Falls Inc., we've been helping homeowners in Roseville, Sacramento, and throughout California turn their landscape dreams into reality. Our "Whatever It Takes..." philosophy means we're committed to delivering results that exceed your expectations.
Ready to transform your landscape? Explore our professional landscaping services to see how we can help bring your vision to life.
Want to learn more about our story? Visit our About Us page to find why so many homeowners trust us with their most important outdoor projects.


